Modelling a Simple Groundwork
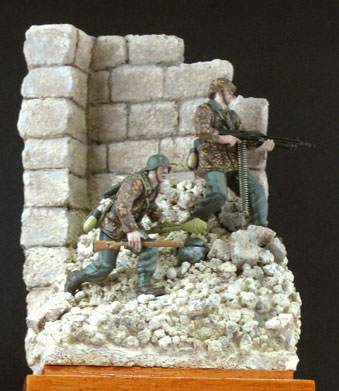 |
After several days of pondering about what kind of scene I wanted to setup for my vignette, I decided to create a partly demolished wall with rubble in front. The idea of panzer grenadiers storming into a town after their tanks have blasted the way through first was the inspiration for me to make my decision. The very first step was to decide the base I wanted to use as my foundation. I settled on a small square base and cut a cork board the size I desired( taking the cue of the size my wooden base. On that square cork board is where all my vignete will rest upon and take shape and which I will later glue onto the wooden display base. |
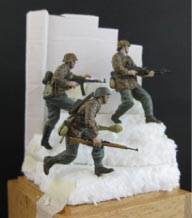
MockupNext, I roughly cut out a cardboard and use it as a mockup of the wall I was going to create. To go with that I also cut out styrofoam to the shape I wanted my rubble pile to be and taped them together. From there I will placed the painted miniature figures and played around with the placement and composition untill I finalised my decision. I had this idea of placing my figures at different heights so that each miniature figure has its own prominent position and also have interesting composition. |
 |
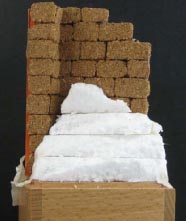 |
Corkboard and styrofoamOnce I decided, I proceeded to cut a more appropriate and better cardboard piece to act as the foundation of my wall. Next step I did was to create a texture on the corkboard by rubbing the board with use a wire brush. Then it was back to cutting out the textured cork board into pieces of bricks with an Xacto blade. The cutout bricks were then PVA glued onto the cardboard wall. |
Plastering
|
After the previous steps were accomplished, I began applying putty onto the wall as well as the styrofoam as plaster. The use of general purpose putty was to cover the joints and gaps to make the whole thing like a real life wall. After all the plastering was done, I used coarse sand taken from a kitty litter and PVA glued them onto the plastered styrofoam ground You can also sprinkle sand onto the putty before it dries. Remember to tap away gently the loose sand particles to remove them or you will find sand particles falling off all over the place. I also used some cork board to simulate large bricks to break the continuity of the medium size sand. |
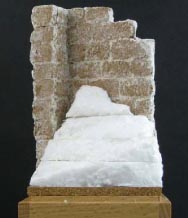 |
Once the glue has dried I apply a second layer of diluted PVA glue with a brush onto the sand areas to solidify their position.
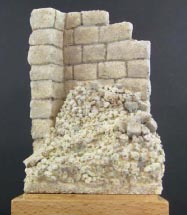 |
PaintingThe painting process is actually a simple process. I used Burnt Umber color as the basecoat. Next I used Iraqi Sand to paint the top and high areas leaving the shadow areas alone. This is followed by drybrushing the the most prominent areas with Pale Sand. I then also drybrushed Field Grey colour to add some colour variation onto the rubble to add more realism to the scene as a whole. To get more contrast to the scene, you can outline the joints when each brick meets with diluted black or dark brown colours |
As you can see I have decided to leave only 2 miniature figures in the scene. I felt it looks less crowded and more focused. I added a cooking pot scratchbuilt from putty to add more interest to the groundwork and painted it silver and drybrushed with black.
Well that’s my 2 cents worth for this topic. Hope this short article helps you in having an idea on how to utilise everyday items to create an inexpensive vignete.


